Disclosure: As an affiliate I may earn a commission on any qualifying purchases, including those from Amazon, at no extra cost to you -read more
A greener alternative to automotive transportation is gaining popularity as society swings toward ecological sustainability. On several levels, cycling outperforms driving—it’s a cost-effective and environmentally friendly choice that helps individuals achieve their health and fitness objectives.
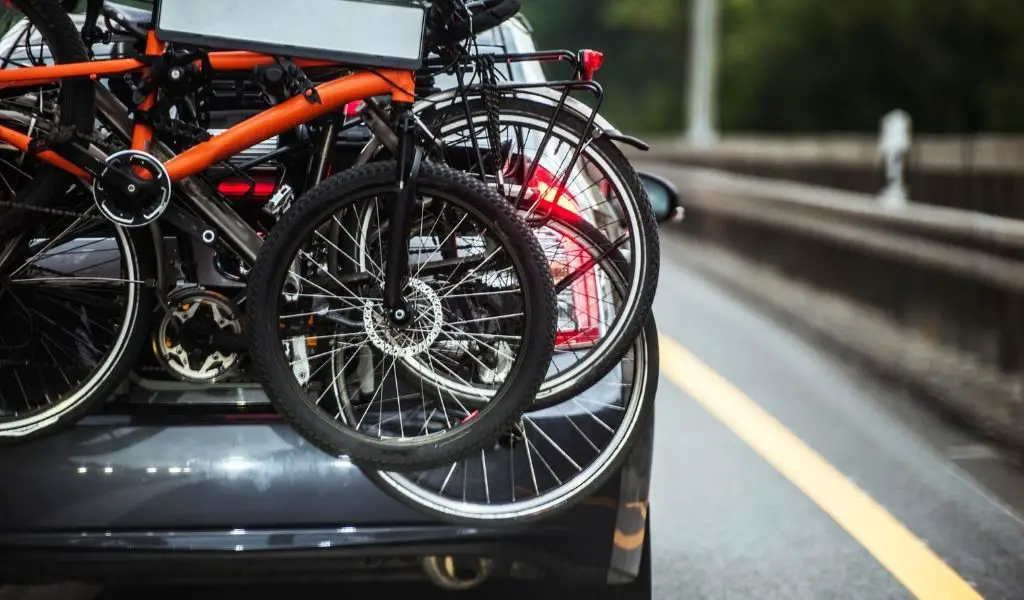
While cycling is an excellent mode of transportation, one key concern remains: where can a cyclist keep their bike after they get to their desired location? A bike rack would be a handy solution, but first, you need to know how to put a bike on a bike rack.
Steps to Follow
Below are specific steps you need to take to place your bike on a bike rack.
Opening Up the Bike Rack
Because different rack brands have different fastening procedures, follow the directions in the handbook. The open form of the rack varies depending on the brand and design. However, most racks display a large arc when fully expanded.
Make the tusks sit erect in their sockets. Allowing the rack to sit flat on a hatchback glass is not recommended. With strongly cambered hatchbacks, position the rack closer to the car bumper. To avoid damage or to anchor the cargo, do this lower down.
Carefully Strapping the Rack to The Car
Each of the straps on the rack’s rather befuddling tangles serves a crucial role. When approached in a methodical manner, everything is supposed to fall into place.
The top adjustments are usually locking affairs with double looping to avoid any danger of loosening while loaded. Once you’ve determined and fine-tuned the optimum duration, installation time will be reduced.
Padding The Delicate Parts Whenever Needed
To avoid any touch with the metal parts, use enough cushioning to keep your bike away from delicate sections. This also ensures that carbon bikes are transported safely. You must disperse the pressure across a large region.
The front wheel of the bike should be removed to make the package more compact. Keep the bike from projecting into traffic past the driver’s side. Install a stretch of foam sheathing between the rack tusk and the top tube.
To protect the frame, place one tusk through the back wheel or triangle. Keep in mind not to block the exhaust pipe. When the number plate and lights are obscured, don’t use the light board.
Lashing the Bike to the Rack with Excess Straps
By securing your bike to the rack, you’re giving it an extra layer of protection. This helps to avoid adverse outcomes such as flying off motorcycles on the highway. Simply use the straps to secure the top tube to the bike rack.
You may even utilize your previous toe straps as long as the buckles don’t harm the paint. The next step is to secure the bike’s bottom parts to the rack to prevent it from bouncing or swinging like a pendulum.
To preserve the movement, turn the bar sideways and strap it to the top tube. Protect the leather saddles with a saddle cover or a taped-up bag. To stop the front and/or rear wheels from spinning, immobilize them. In your rearview mirror, this may cause distraction or annoyance.
Tensioning Up the Rack’s Lower Straps
Once your bike is loaded, the foam cladding protectors will be squeezed. This causes the lower straps to lose tension, which may cause the straps to unclip on the road. You should tighten up the bottom buckles using your hands. Simply pull on its free strap.
Shake the bike to ensure that nothing collides with anything else, which might cause harm. It’s worth noting that anything hard or abrasive that comes into touch with the bike’s surface might cause harm over time.
If you still don’t have a bike rack and are find it difficult to pick one, here’s a handy guide to minivan bike racks you could check out.

Kieren is the founder and editor-in-chief of Auto Adviser. Kieren created the site to share his passion of cars that began long before he passed his driving test and is now a recognised contributor in the industry. Outside of cars, Kieren loves drinking coffee and travelling to far-off lands.